
Everyone knows how much damage burst water pipes can cause to the home. This damage translates into costly repairs and even potential health issues. Pipes can burst for any number of reasons, including freezing temperatures, age and corrosion, high water pressure, and tree root intrusion. But, as most people know, freezing temperatures are the most common culprit, as the water expands as it freezes and puts great pressure on the pipes, until the time bomb explodes and the pipes crack or burst. Older homes are more likely to have dated plumbing. This leads to old pipes that are more likely to burst due to corrosion and wear over time.

Table of Contents
This guide will walk you through the steps to take when dealing with a burst pipe.
Step 1: Turn Off the Water Supply
Before you do anything else in emergency plumbing repairs, turn off the main water supply valve. Truly, it’s better if you locate this before you ever have a problem, saving time when you do! This will stop the flow of water and keep the flooding at bay. Look for the main water valve near the water meter or where the main water line comes into the house.
Step 2: Drain the Pipes
After you’ve turned the water off, turn on all the faucets so that you’re able to drain any leftover water out of the pipes. This reduces the pressure in the system and cuts down the risk of more leaks. Also, flush all toilets to rid the water from the tanks and toilet bowl.
Step 3: Locate the Burst Pipe
Do your best to find where the pipe burst in the first place. Be on the lookout for noticeable water damage, pools of water, or the sound of running water. The burst pipe may be behind walls or under the floor, so a moisture meter or infrared camera will be needed to find the damage. (In cases like this, you really should go on and call the plumber)
Step 4: Document the Damage
Before you start cleaning up the mess, get out your cell phone and take pictures and videos of the damage for insurance purposes. This documentation is helpful when filing a claim with your insurance company.
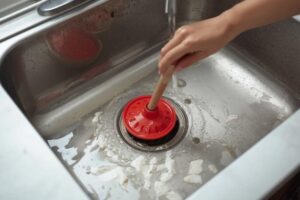
Step 5: Clean Up and Dry Out
Begin the cleanup process by removing any standing water using a wet/dry vacuum, mops, or towels. Remove wet carpets, rugs, and furniture to prevent mold growth. Use fans and dehumidifiers to dry out the affected areas thoroughly.
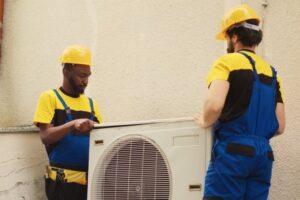
Step 6: Repair or Replace the Burst Pipe
If you have the necessary skills and tools, you can attempt to repair the burst pipe yourself. However, it’s generally recommended to hire a licensed plumber to ensure the repair is done correctly. The plumber will assess the damage and determine whether the pipe can be repaired or needs to be replaced.
Step 7: Prevent Future Incidents
To avoid future burst pipes, take preventive measures such as insulating pipes in unheated areas, sealing cracks and gaps that allow cold air to reach the pipes, and maintaining a consistent temperature in your home during cold weather. Additionally, have your plumbing system inspected regularly by a professional to identify and address any potential issues before they lead to a burst pipe.
Step 8: Contact Your Insurance Company
Notify your insurance company about the burst pipe and the resulting damage. Provide them with the documentation you collected earlier and follow their instructions for filing a claim.
By following these steps and acting quickly, you can minimize the damage caused by a burst pipe and ensure a smooth recovery process. Remember, the key is to stay calm, prioritize safety, and seek professional help when necessary.