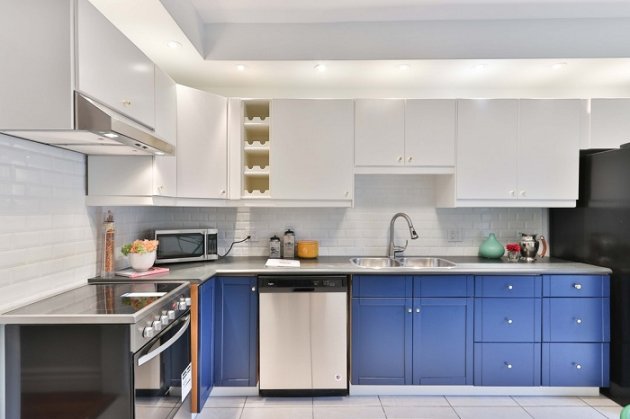
Is your kitchen in need of a fresh look? Tired of the same old cabinets staring back at you?
Well, we’ve got just the solution for you – adding trim to cabinet doors. It might sound like a daunting task, but trust us; it’s a quick and easy upgrade that can breathe new life into your kitchen space.
In this blog post, we’ll break down the process into simple steps so you can achieve a revamped kitchen without the hassle.

Table of Contents
Choosing the Right Trim
Before you start, it’s essential to select the right trim that complements your kitchen’s style. Choose from a variety of trim options, such as decorative molding, beaded designs, or sleek and minimalistic options. The chosen trim should align with the theme of your kitchen.
Whether you have a modern, traditional, or farmhouse-style kitchen, there’s a trim that can integrate and elevate the look of your kitchen cabinets.
Tools You’ll Need
Gathering the necessary tools before you begin will ensure a smooth and hassle-free process. You’ll need a measuring tape, a miter saw to make precise angle cuts, adhesive or wood glue to secure the trim, a level to ensure proper alignment, and finishing nails for added stability. Having these tools ready will streamline the installation process and help you achieve professional-looking results.
Step-by-Step Installation
Here’s a step-by-step guide to adding trim to your boring cabinets. Be amazed by the transformation!
Step 1: Measure and Cut
Start by measuring the dimensions of your cabinet doors. Using a miter saw, cut the trim pieces at 45-degree angles to create clean and seamless corners. Remember, accurate measurements are crucial to achieving a polished look.
Step 2: Apply Adhesive
Apply wood glue or adhesive to the back of the trim pieces. Carefully position the trim along the edges of the cabinet door, pressing firmly to ensure proper adhesion. A level can help you maintain straight and even lines.
Step 3: Secure with Nails
For added stability, secure the trim in place using finishing nails. Make sure to countersink the nails so they’re not visible. Fill the nail holes with wood filler and sand them down for a smooth surface.
Step 4: Finishing Touches
Once the trim is securely in place, allow the adhesive to dry completely. Sand any rough edges and wipe away excess glue. Depending on your preference, you can paint or stain the trim to match your cabinet doors.
Benefits of Adding Trim
The addition of trim to your cabinet doors offers several benefits. Firstly, it enhances the visual appeal of your kitchen by adding dimension and character to your cabinets. This simple upgrade can make your kitchen look more high-end and customized, even if you’re working with standard cabinets.
Secondly, it’s a cost-effective solution that delivers impressive results without the need for a full kitchen remodel. Lastly, the process is quick and doesn’t require extensive skills, making it an accessible DIY project for homeowners looking to refresh their kitchens.
Now that you’re familiar with the process and benefits of adding trim to cabinet doors, you might be excited to explore kitchens in a whole new way.
A Guide to Adding Trim to Cabinet Doors
Adding trim to cabinet doors is a great way to add a subtle but stylish upgrade to any kitchen. It’s inexpensive and simple to do, even for beginner DIYers. You can find trim in any home improvement store and complete the project in just a few hours.
Why not take this weekend to get started on your DIY project?
Did you find this article helpful? Check out the rest of our blog for more!


